Since a bonsai is a tree that lives in a small pot, repotting is vital so that, over time, it continues to grow in a healthy way. As it is a delicate and very methodical technique, it is advisable for the repotting process to be carried out by professionals. Bonsais de Campolide Garden Centre provides this service, following the steps below.
Accessories
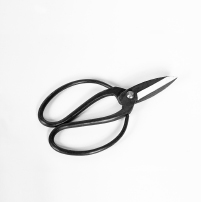
• Suitable scissors
• Hose with a water jet
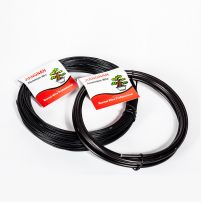
• Wire and suitable pliers
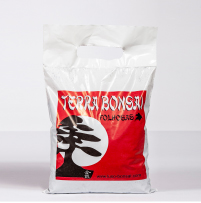
• Suitable soil
• Chopstick
• New pot (optional)
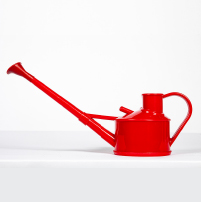
• Watering can with a fine rose
• Suitable vitamins
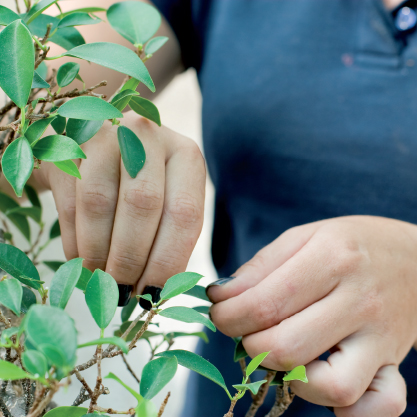
step 1
Training prune. You should remove around 90%
of the foliage to ensure better balance between the canopy and the roots;
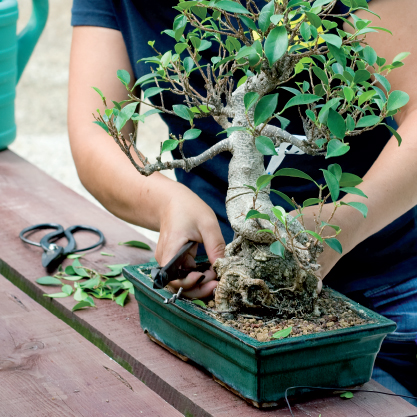
step 2
Remove the wires that secure the tree to the pot;
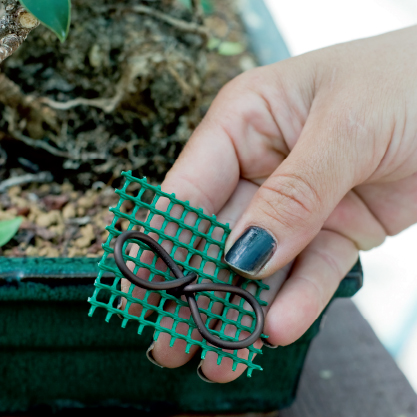
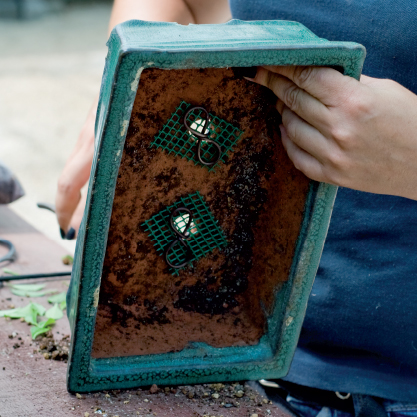
step 3
With new wire, prepare the “ears” that will be attached to the drainage mesh and then fixed to the drainage holes at the bottom of the pot. This procedure prevents soil loss and ensures proper drainage.
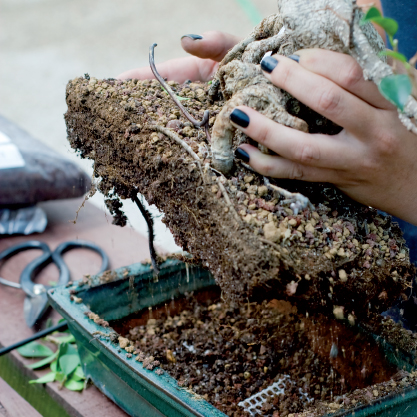
step 4
Remove the bonsai from the pot. The pot should be prepared quickly so that the roots are exposed to the air for as little time as possible. Remove the soil and the old “ears”;
step 5
Fix the new “ears” to the drainage holes. Then, thread new wires through the same holes, which will allow you to secure the tree to the pot and help it root;
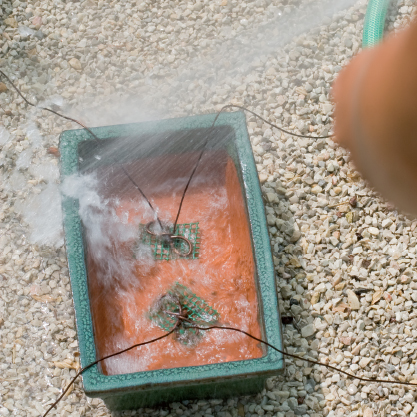
step 6
For the first two repottings, we recommend buying a new pot. If you choose to keep the previous pot (if you feel the roots still have room to grow), don’t forget to wash it very well to remove all traces of old soil;
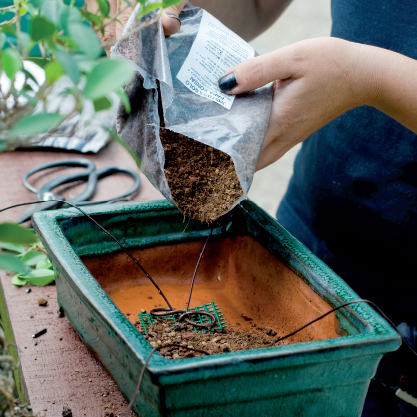
step 7
Cover the bottom of the pot with the soil recommended for the repotting process;
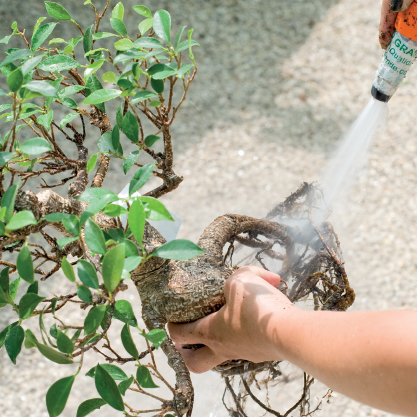
step 8
Remove the wires that guide the tree’s growth (placed during the last repotting) and wash the roots thoroughly with a jet of water to completely remove the old soil;
step 9
The roots are separated and spread out. Cut the thick, dead and damaged roots;

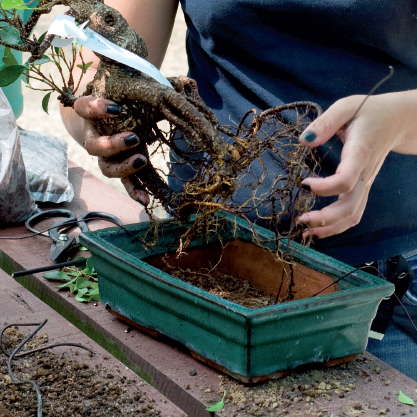
step 10
Place the bonsai back in the pot. With the help of the wires (placed in step 4), secure the tree well near the strongest roots. This work must be done carefully so as not to strangle the finer roots. Once it is well secured, add the remaining soil so that the roots are well covered.
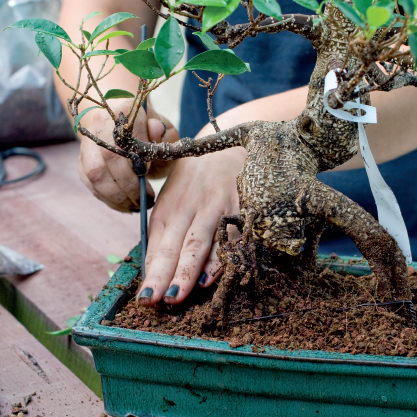
step 11
With gentle movements, using the chopstick will prevent air pockets from forming between the roots. Add a little more soil and press down;
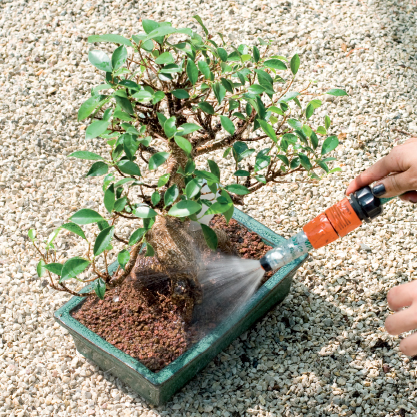
step 12
Water preferably with a watering can with a fine rose, so that the water soaks evenly into the soil, until the water runs clear through the drainage holes.
How often you repot a bonsai varies depending on the species and the age of the tree, but on average it should be done every two years.
After repotting, you should give it a vitamin boost at least once a week for a month and a half, which will help produce new roots.
Accessories

Bonsai Repotting RepottingBonsai techniqueRepotting techniqueMethodical accessoriesBonsai Horto do Campo Grande BonsaisdeCampolide services HotelBonsai BonsaiCare Wire Scissors BonsaiSoil WateringCanFineRose roots wire-ears bonsai pot chopstick pliers hose waterjet vitamins deciduousbonsai drainageholes

